Knowledge Bases Collections
Create Collections
After enabling an embedding model you are ready to create your collections. The Collections tab in the Knowledge Base window includes simple form to start a new collection. You will need to provide:
- Collection Name - a name for the collection
- Description - a short description of the collection
- Embedding Model - select an embedding model that should be used for this collection. You can select different embedding models for different collections.
After providing the required information, click on the Create Collection button to create a new collection. The new collection will be listed in the table below the form.
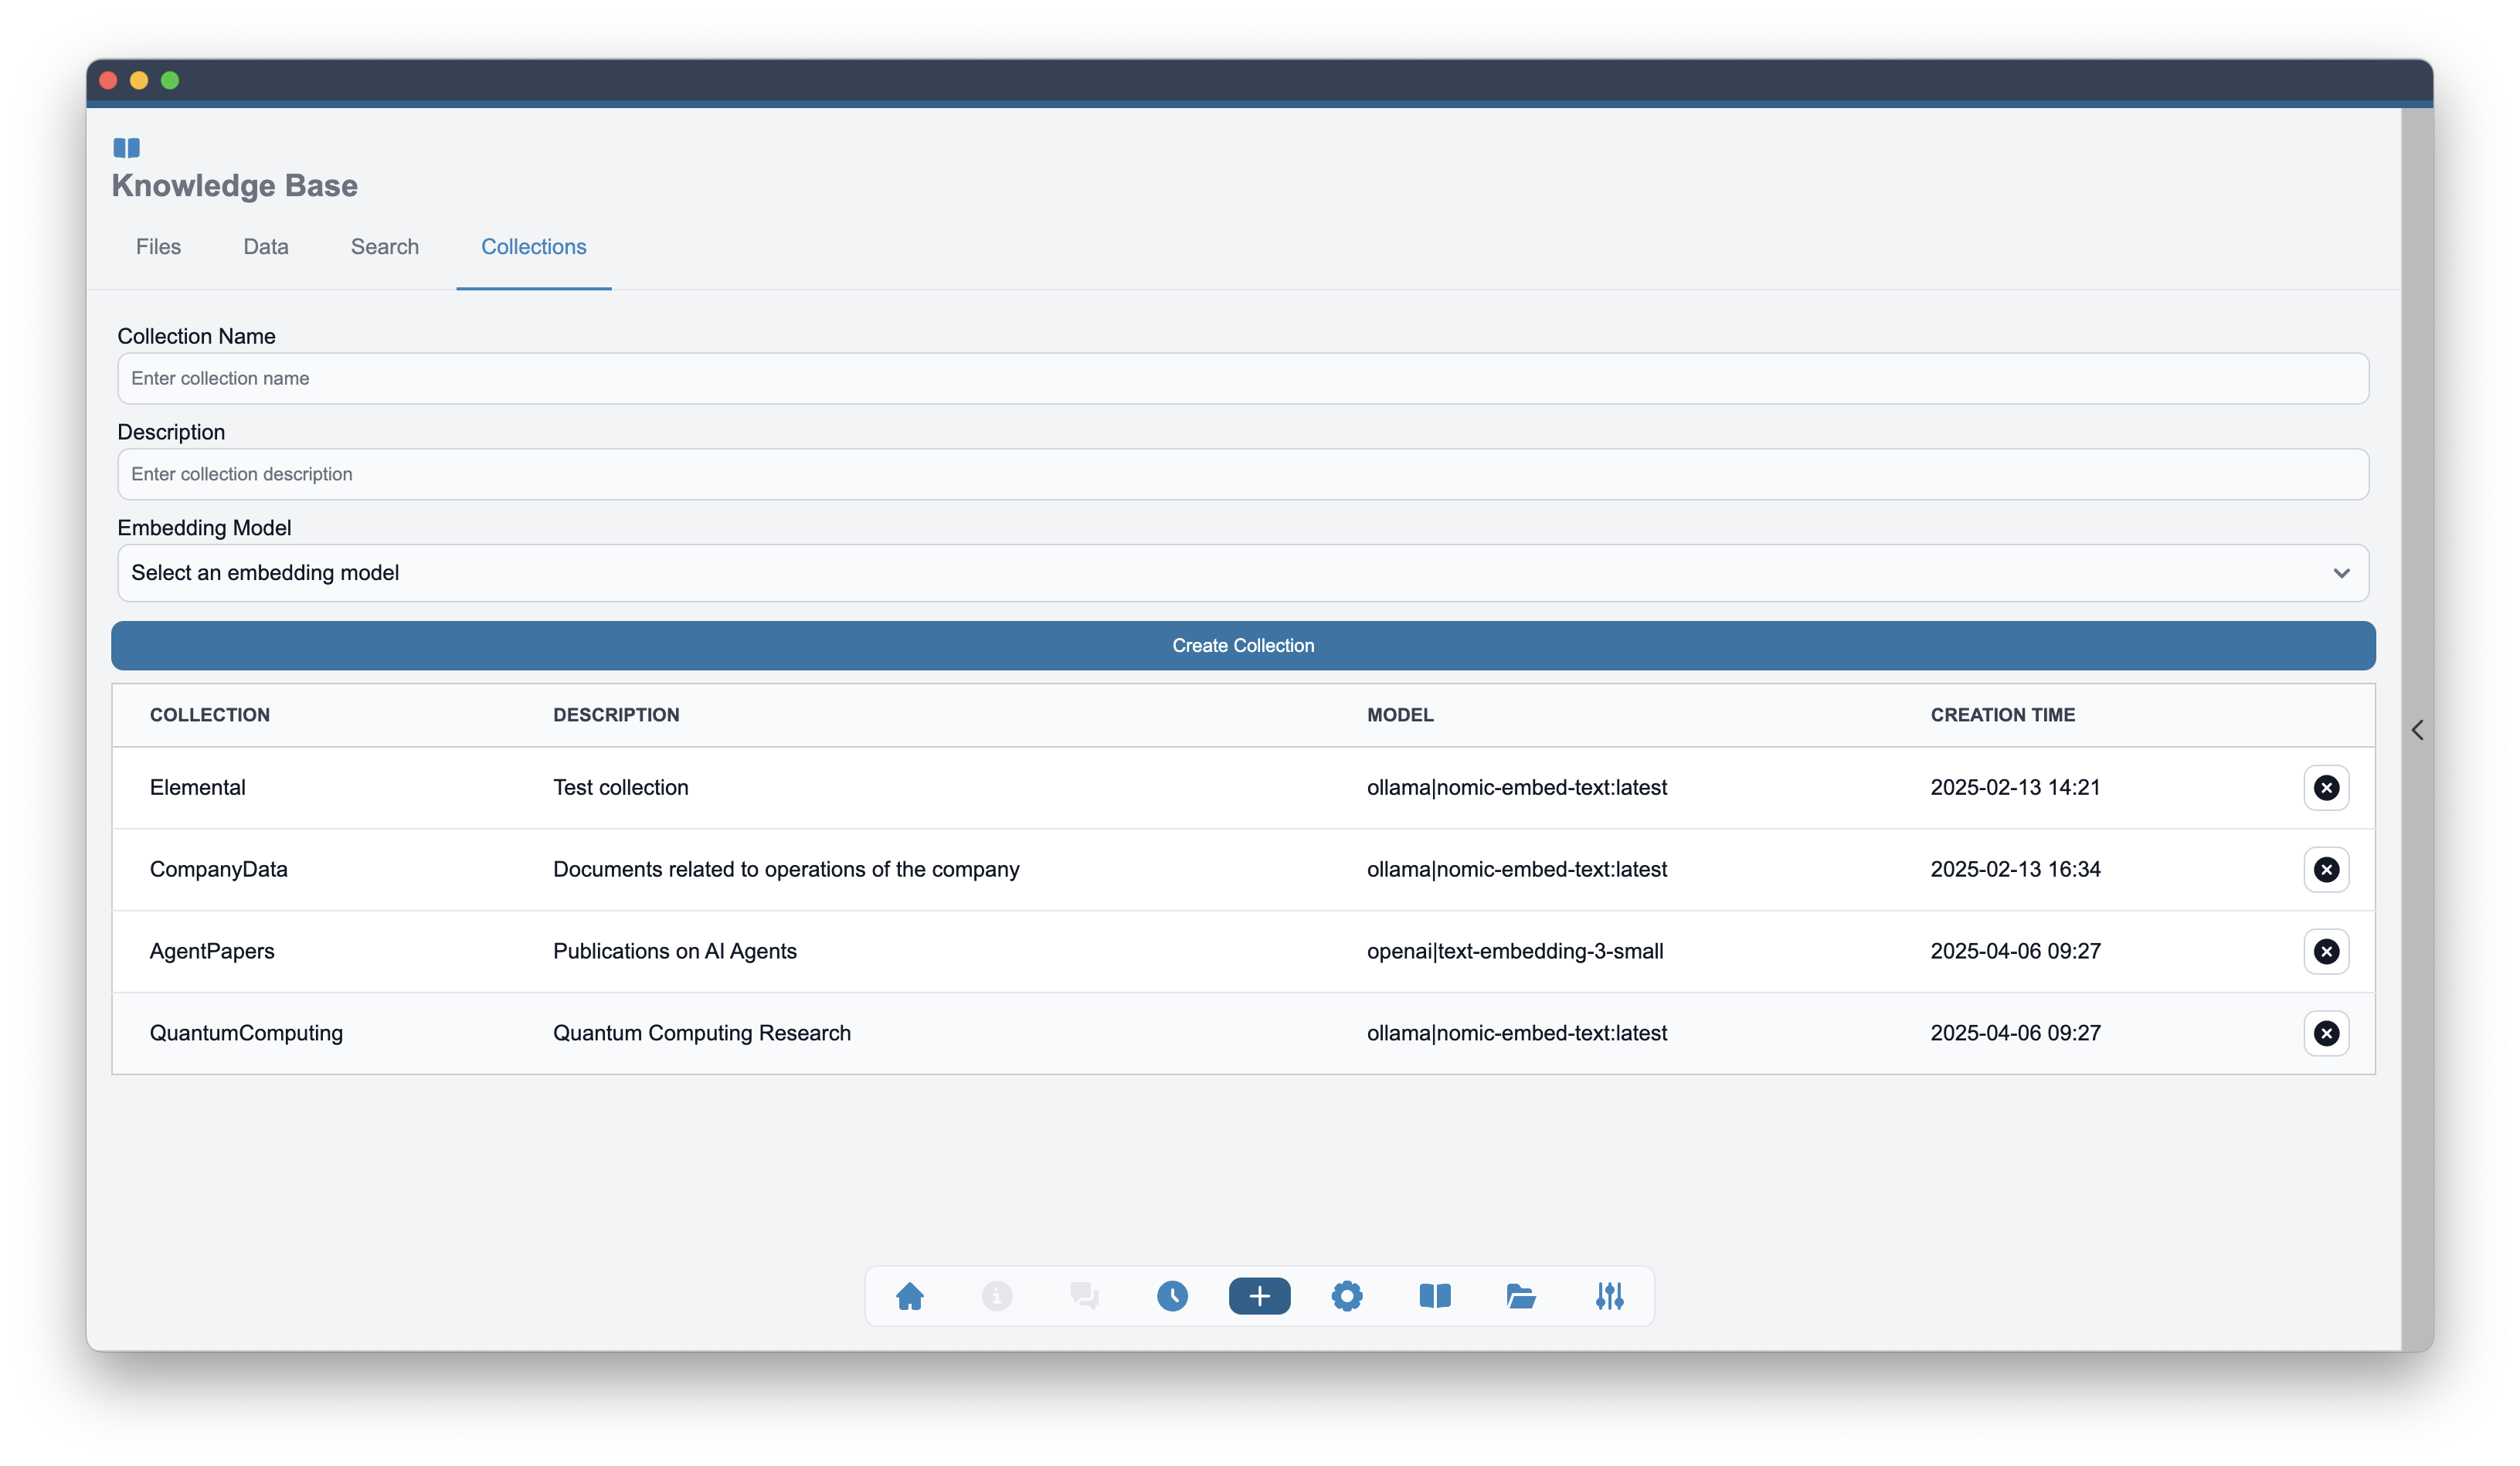
The table below the form lists all available collections. Each collection includes the following information:
- Collection Name - the name of the collection.
- Description - Description of the collection.
- Embedding model - the embedding model that is used for this collection.
- Creation timestamp - the date and time when this collection was created.
- Delete button - The button to delete selected collection and all files that have been uploaded.
Upload Data
The upload of files into a collection is done in the collapsible panel on the right side in Knowledge Base window. The upload process is simple and intuitive. You can drag and drop one or more files into the drop zone on the right side of the Knowledge Base window. You will need to specify the collection into which the files should be uploaded. You may also change the default parameters of splitting the file into chunks by changing the Chunk Size and Overlap settings.
After using Upload button, the files will be automatically uploaded and processed into the selected collection. You will also notice the file names appear on the Files tab with their name and the chosen collection.
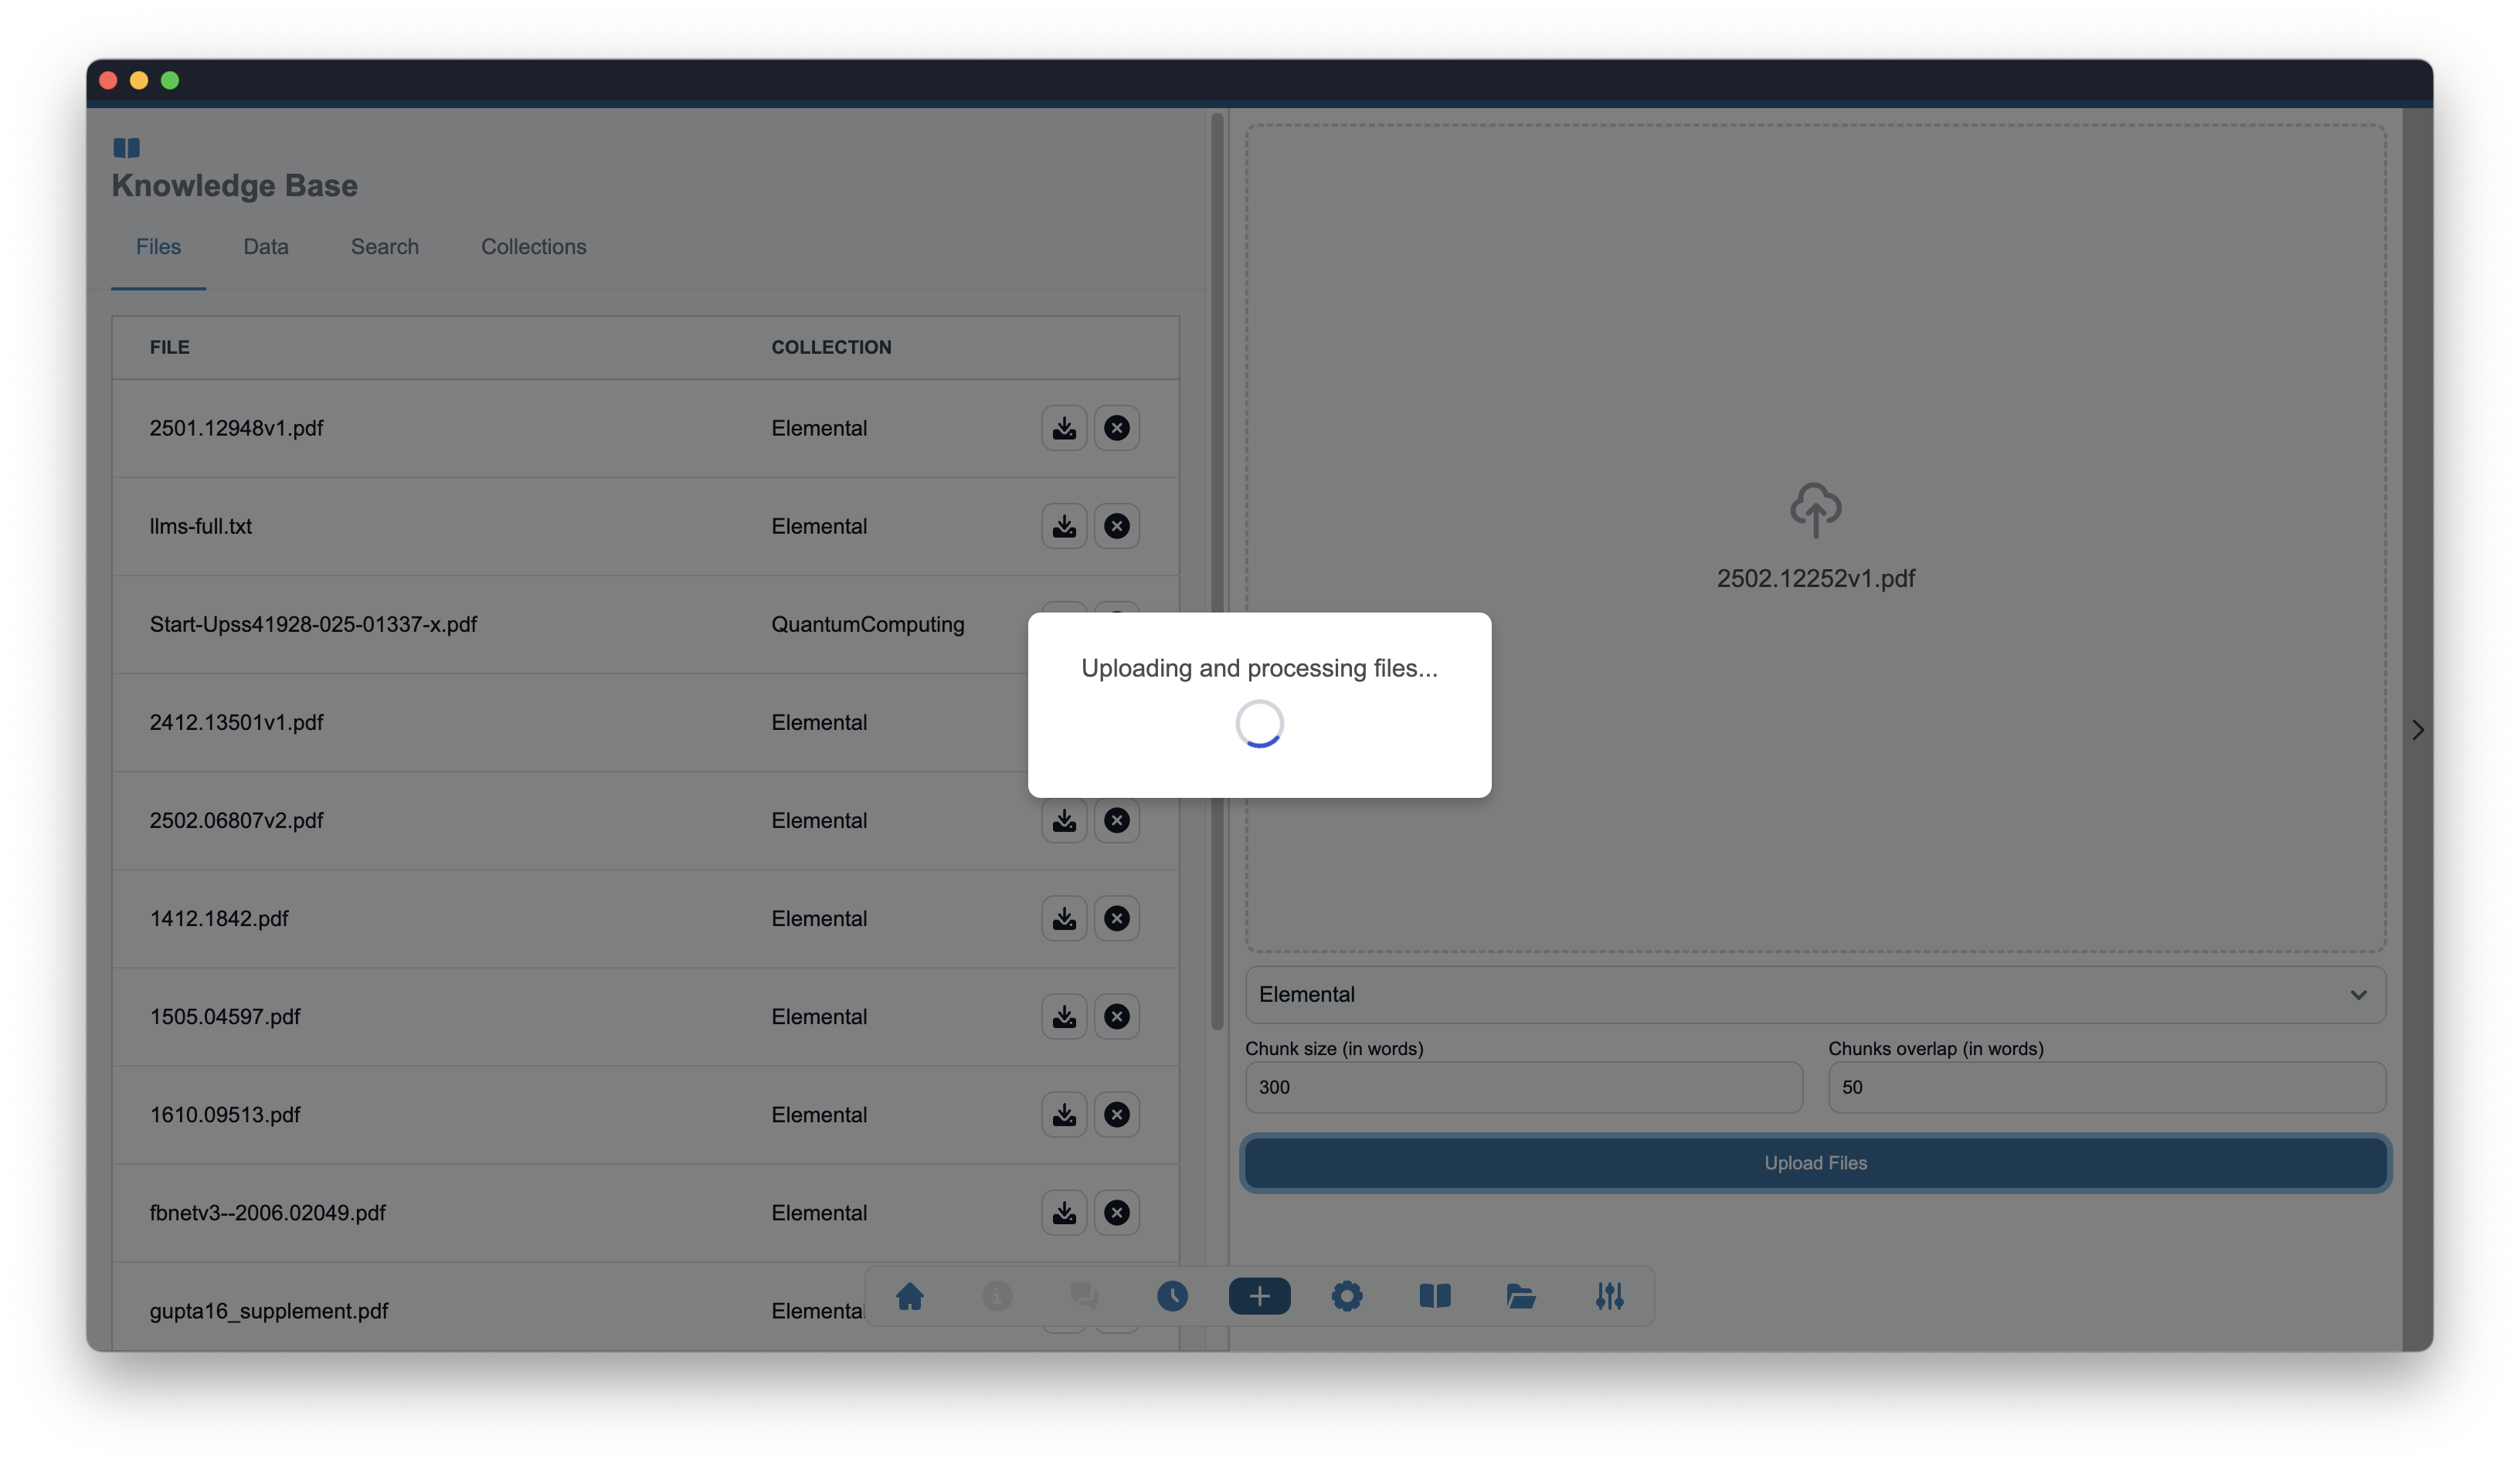
The upload process process may take some time depending on the size of the files and their number. You will see the the progress message on the screen while the files are being processed.
After the upload is finished, you will see a confirmation message that the files have been successfully uploaded to the selected collection. The files are now available for search and retrieval.
